BenchRack User Manual
This document focuses on the user manual for the BenchRack. It will
cover the operation of the BenchRack, benchctl, the smart outlet, and
the basics of the RTE.
What is a BenchRack?
BenchRack is a design pattern by 3mdeb that shrinks a rack-scale
system down to a single desk-side unit, allowing firmware and OS
bring-up to happen locally - at developer speed - instead of on
shared, production rack hardware. It pairs a target's own server
board with a remote control environment (RTE) and benchctl,
letting you flash firmware, control power, and access the serial
console end to end, without ever touching a production rack.
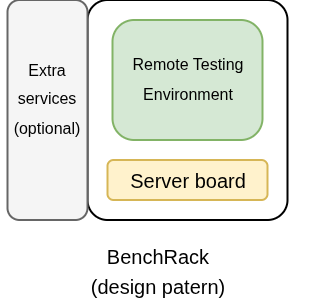
BenchRack consists of three modules:
- ASRock Rack TURIND8UD-2T/X550
- Remote Testing Environment (RTE)
- Smart Outlet NOUS A1T
What is a RTE?
The RTE is the heart of our BenchRack - it's what we use to control:
- power, both at the outlet before the PSU, and the motherboard's power via the front panel connector
- reading from and writing to the serial console - from more than one source.
- detecting flash chips, and reading and writing binary flash images - both for the host and the BMC.
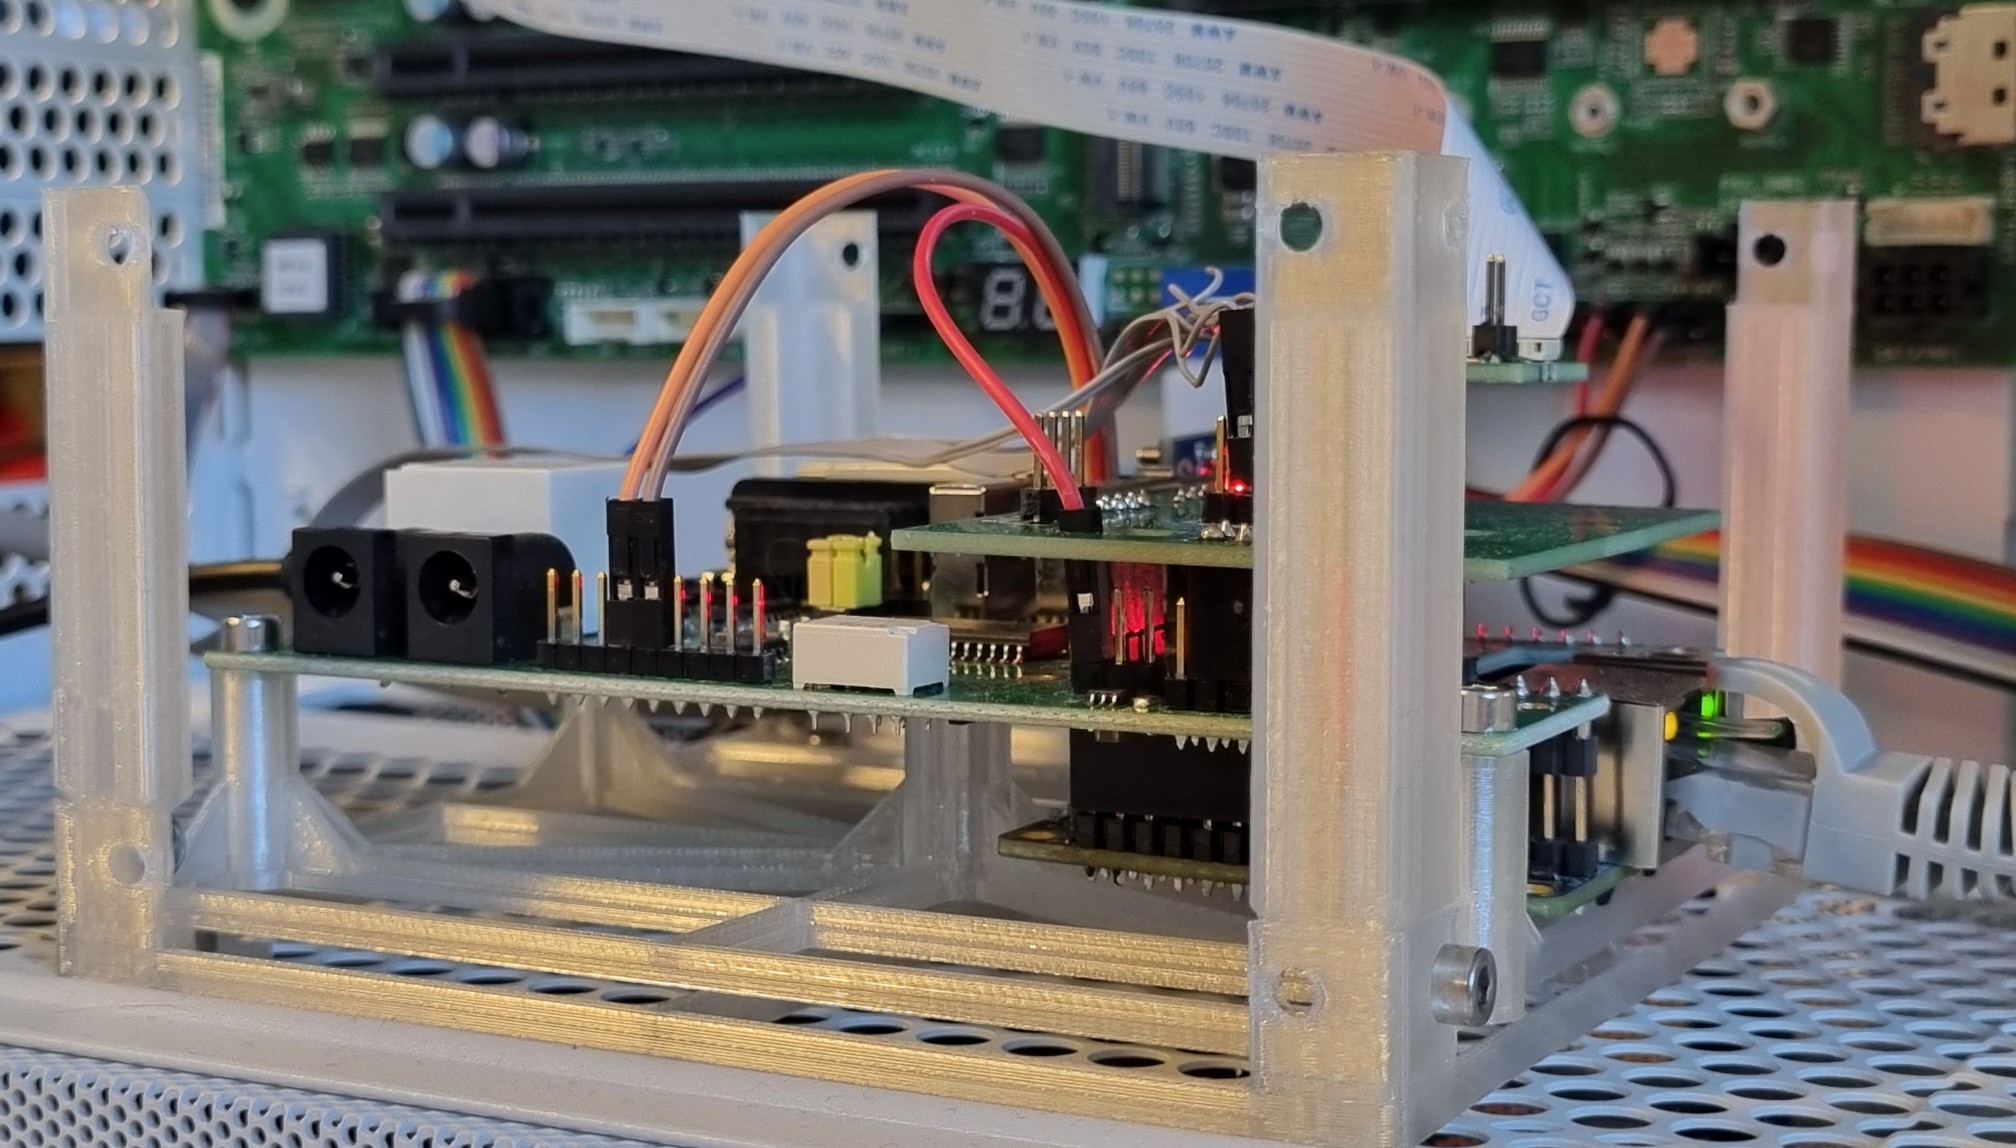
RTE is certified Open Source Hardware, so based on published schematics you can build and modify the PCB yourself.
The RTE runs on meta-rte - our own operating system, built on top of
the Yocto Project. It comes fully equipped with the tools needed for
everyday hardware debugging, ready to use out of the box with no extra
configuration required.
Before you start
You provide:
- Two AC outlets within reach of the delivery package.
- A LAN segment with DHCP that your workstation can also reach.
- A workstation with an SSH client.
Connecting BenchRack
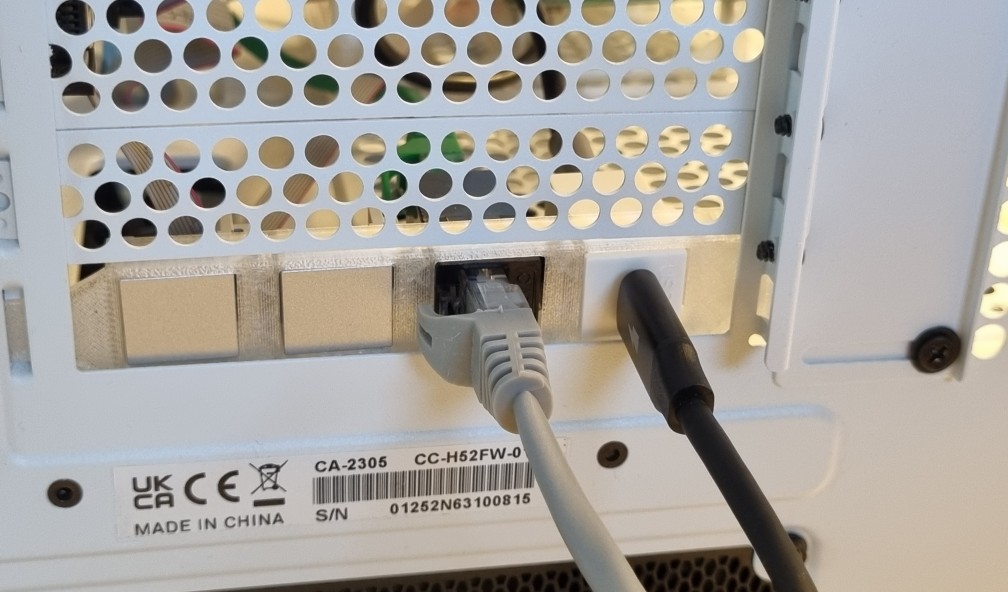
Plug the USB-C power supply into the wall outlet, then use a USB-C cable to connect it to the keystone at the back of the motherboard - in the last PCIe slot (sled). Right next to the USB-C port is an Ethernet port - connect it to the LAN.
Connect the IEC C13 cable to the power supply unit and to the NOUS A1T
smart outlet.
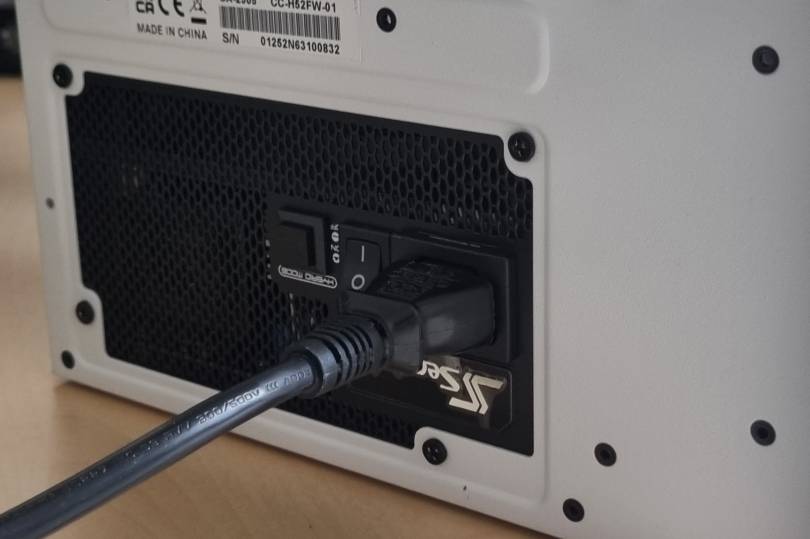
Turn on the PSU by flipping the switch to the "I" (on) position.
Make sure two LEDs are lit on the RTE - red and amber - indicating that the voltage regulators are supplying power correctly.
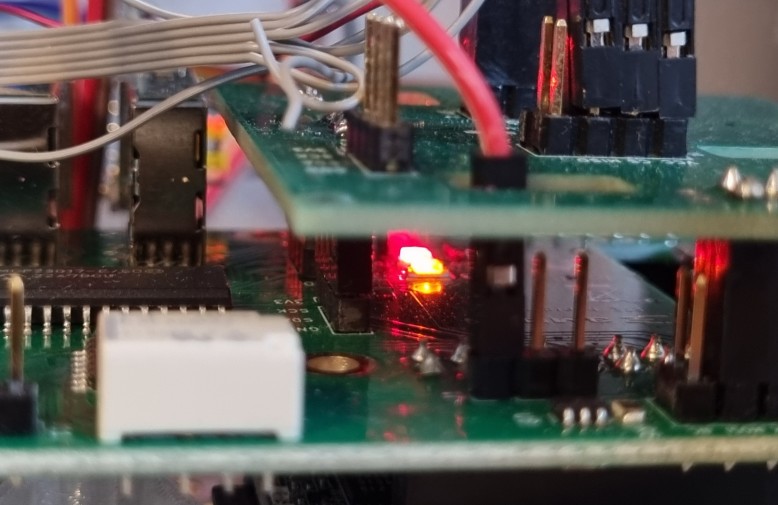
Note
If the LEDs on the RTE are not lit, try flipping the USB-C connector on the back of the BenchRack's case - unplug it, rotate it 180 degrees, and plug it back in.
Acquiring RTE IPv4 Address
If the RTE has been connected and is powered on, its IP address can be
found on the network. The arp-scan tool can be used for this, but the
RTE's MAC address must be known. It is printed on the side of the RTE.
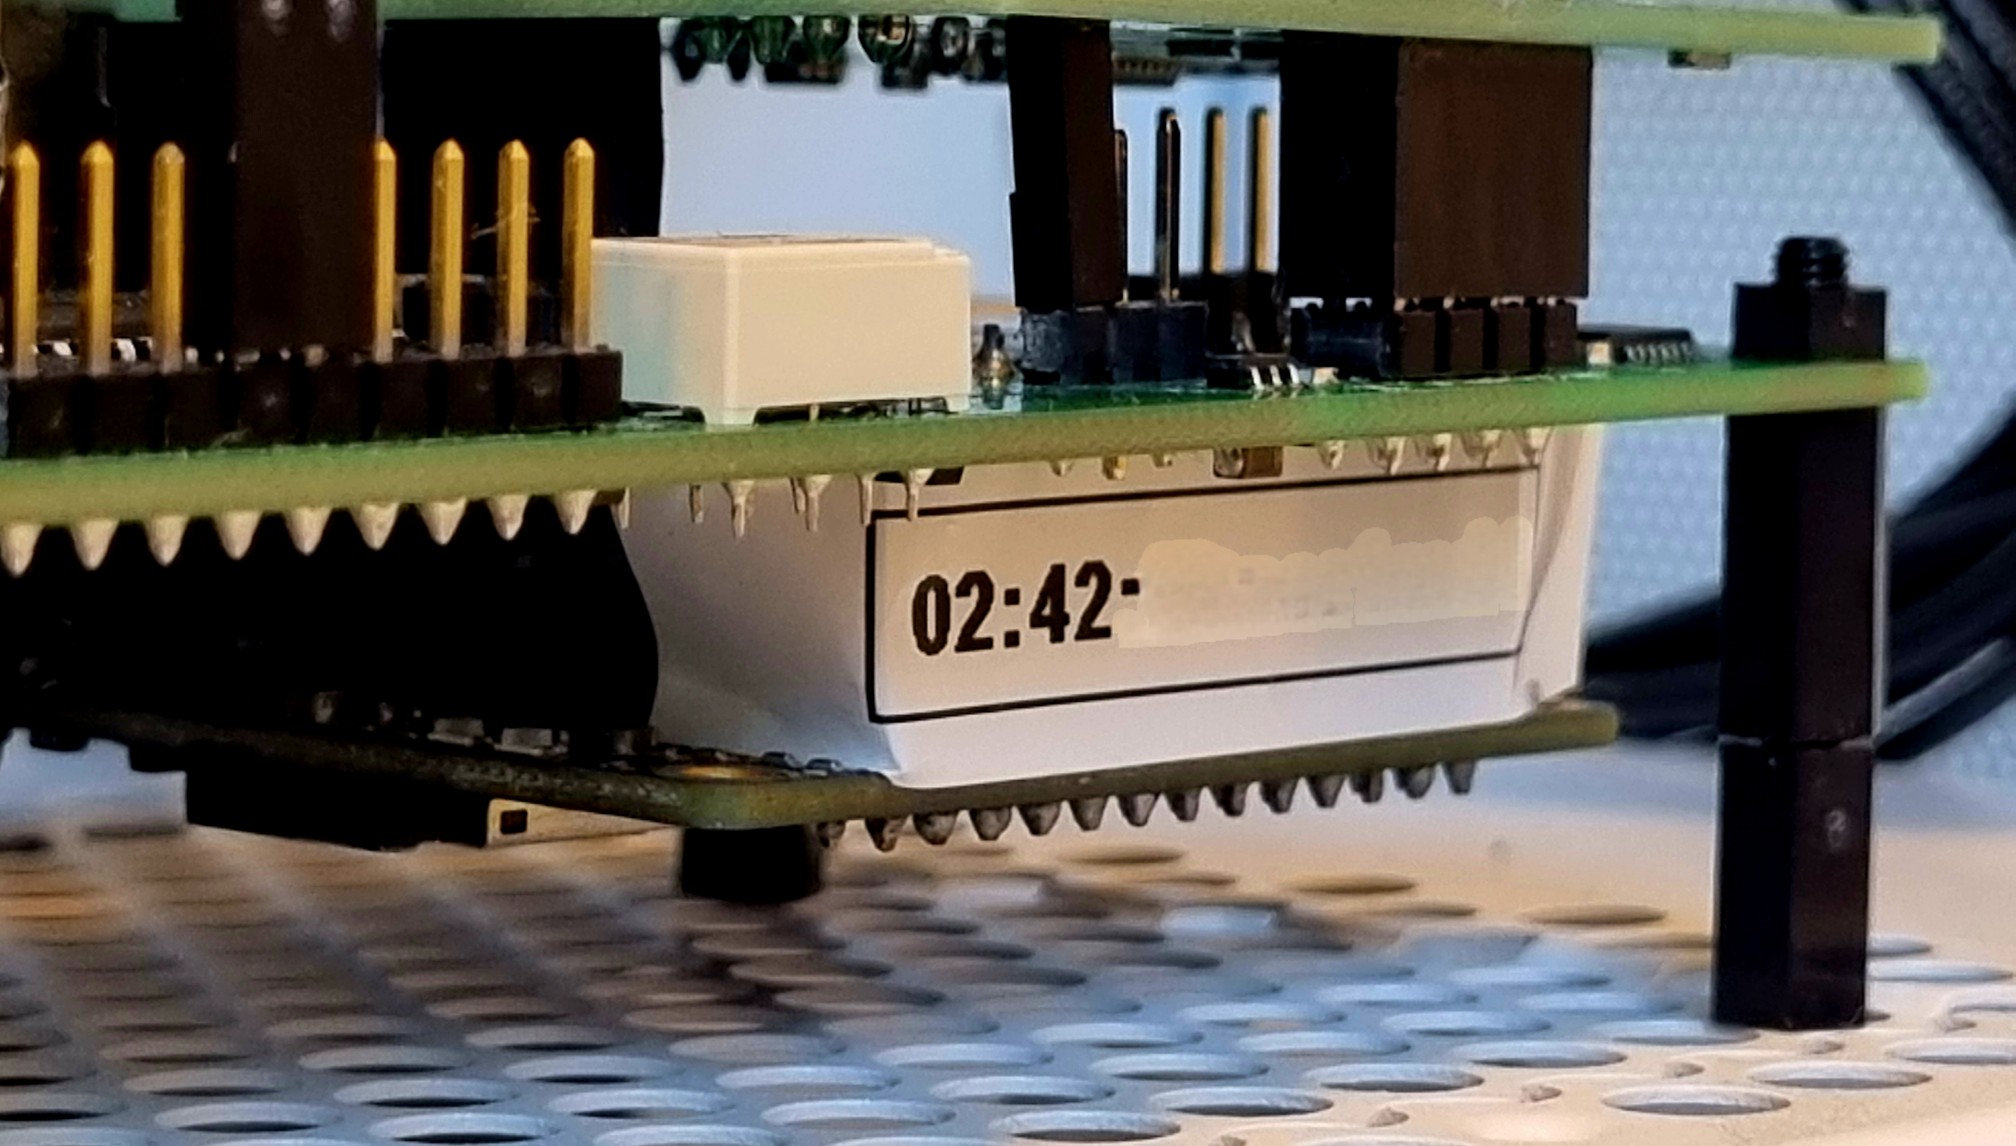
You can use the arp-scan command with the help of grep, using fragment
of RTE's MAC address for instance:
operator~# sudo arp-scan --localnet | grep "02:42"
192.168.XXX.XXX    02:42:XX:XX:XX:XX       (Unknown: locally administered)
It may take a few tries for arp-scan to discover RTE in the network.
Acquiring BMC IPv4 Address
As before, the MAC address of the Ethernet port on which the BMC is available is printed on the green sticker inside the case. Feel free to remove the glass side panel to get a better look at this sticker.
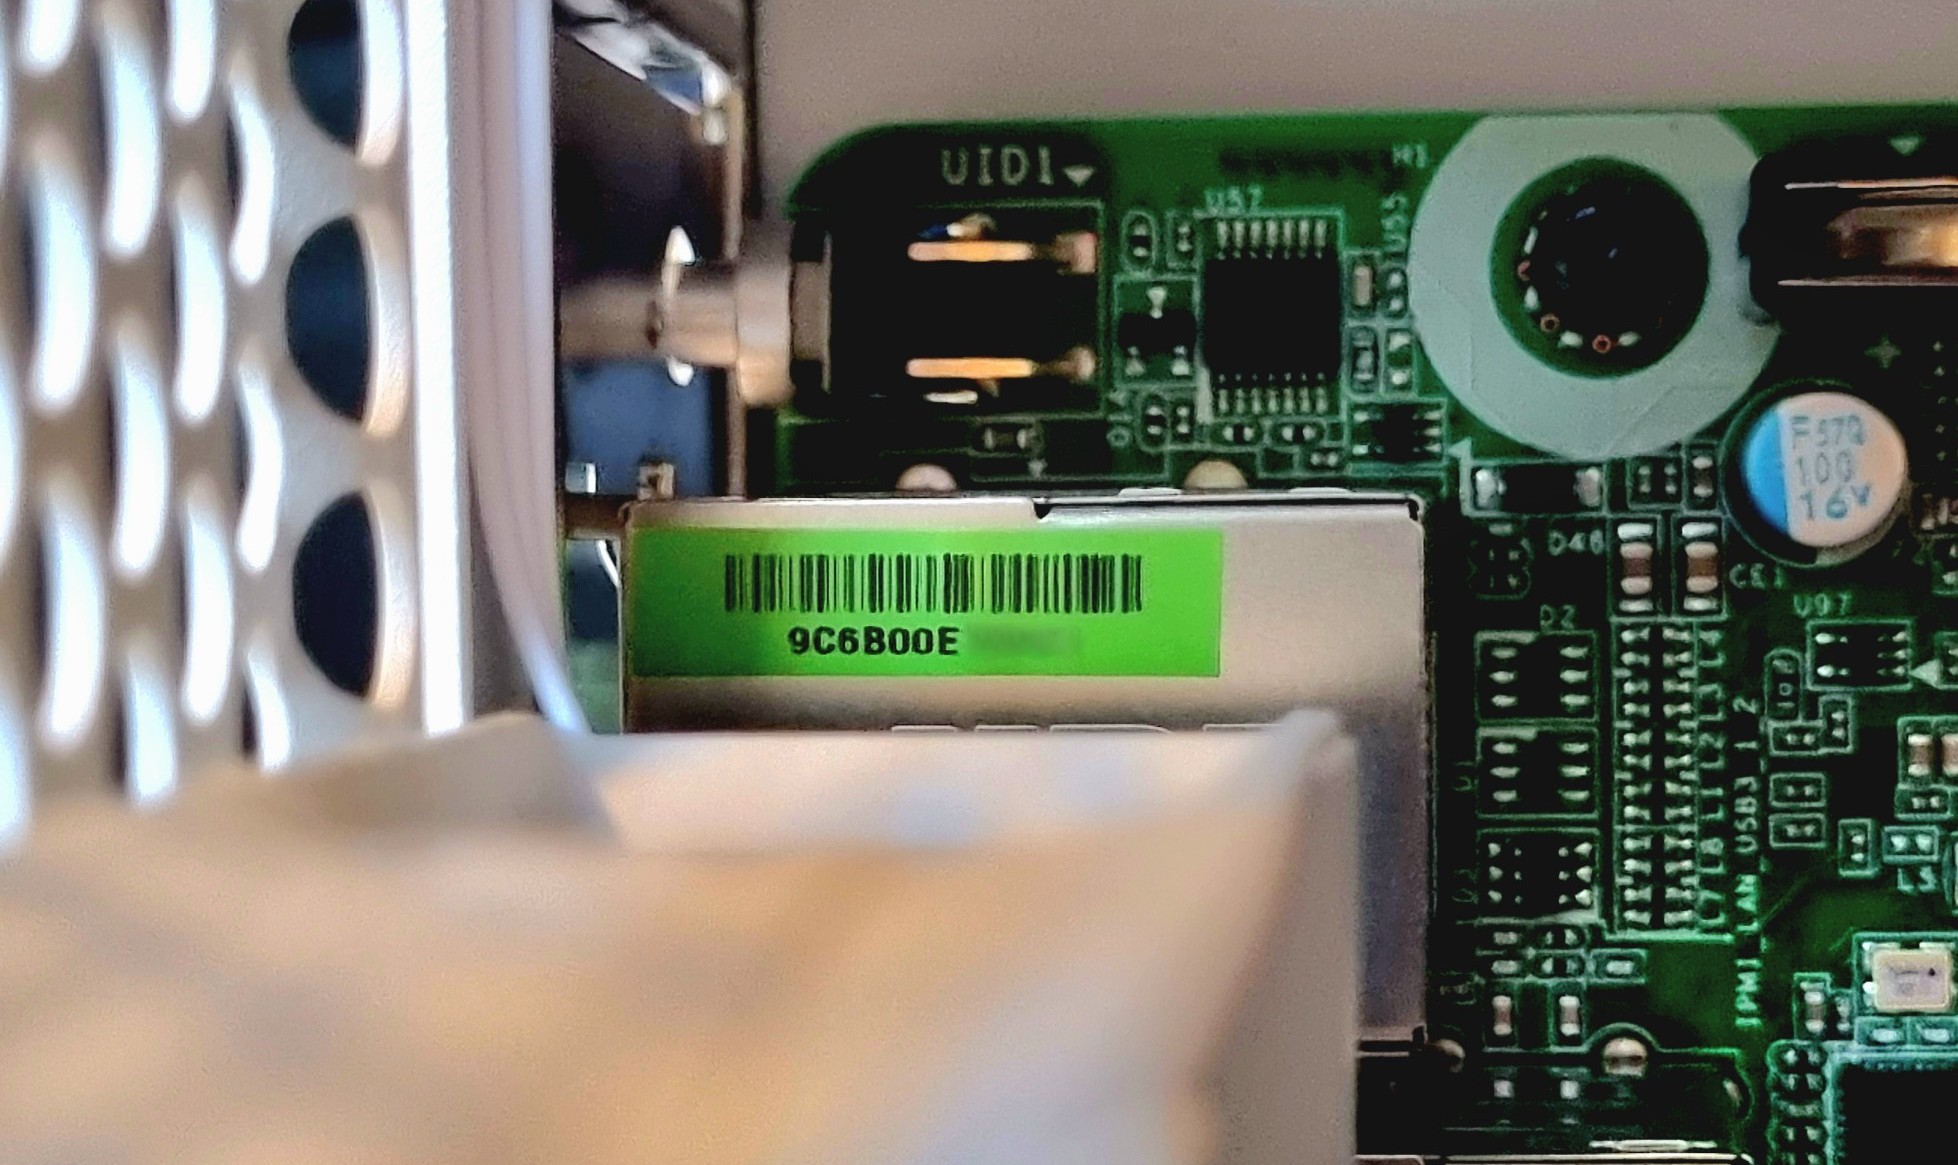
Note
Interestingly, the BMC is accessible from any Ethernet port on the
back of the BenchRack's case. You will always get the same MAC
address for connecting to the BMC. Once BenchRack has booted, you
will also get the MAC address of the NIC itself, not just the BMC.
However, connecting via the port labeled MGMT will give you the
BMC's IP address only.
The address can be obtained using arp-scan (see Acquiring BMC IPv4 Address).
Setting Up the Smart Outlet
- Connect the
NOUS A1Tsmart outlet to a wall socket. -
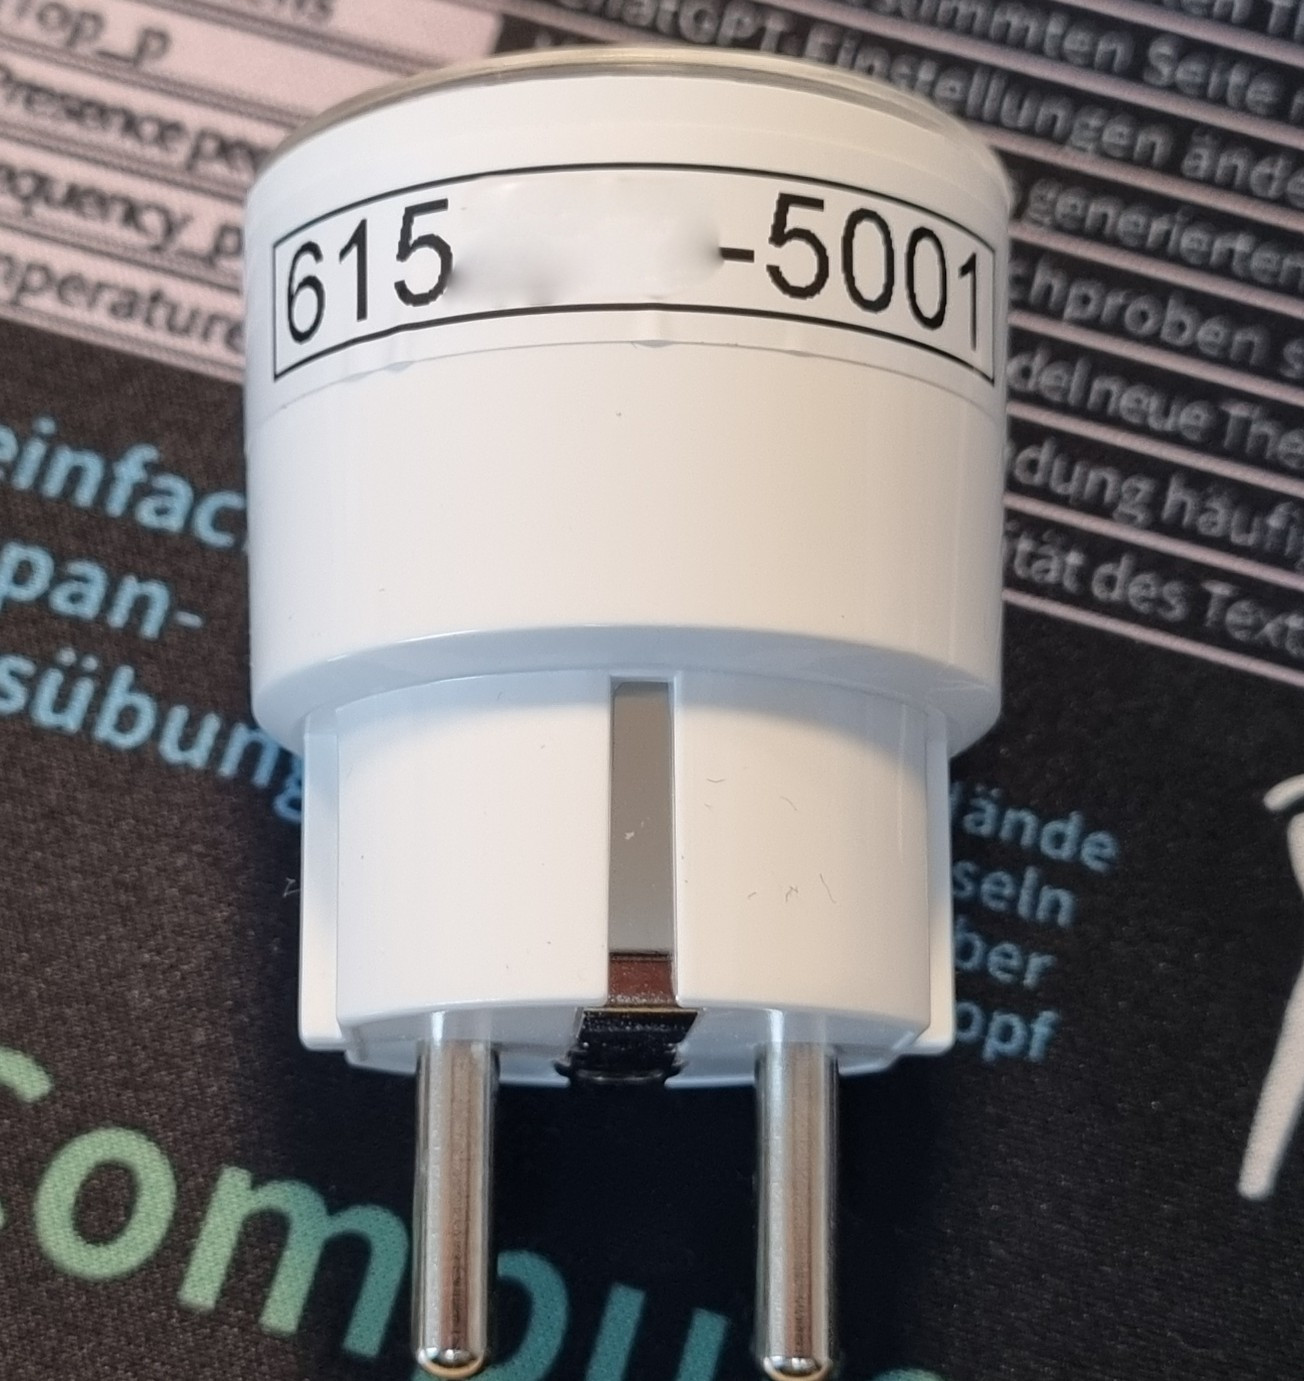
There is a sticker on the outlet with the Wi-Fi network's SSID. Connect to it.
Warning
The Wi-Fi manager server is active for only 3 minutes. If you miss this window, you might have to disconnect the device from power and reconnect it.
-
Go to
192.168.4.1 -
You will be prompted to sign in to a Wi-Fi network or authorize access. Enter your Wi-Fi credentials.
-
The outlet will now switch from access point mode to Wi-Fi client mode, connecting to the network you selected.
- Tasmota will assign a new IPv4 address on the new network. Note it.
This will be the address of your smart outlet, used later in
benchctlcommands.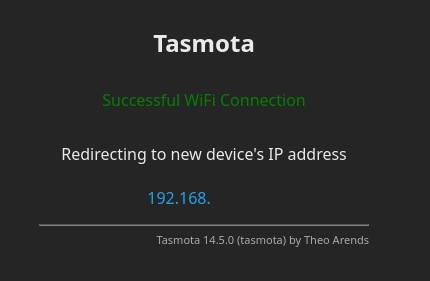
Acquiring benchctl
To get the benchctl binary, simply check the releases on GitHub
and download the latest one.
https://github.com/zarhus/benchctl/releases
Test if its working
benchctl -h
BenchRack benchctl Guide
You now have a BenchRack ready for use in front of you. We will now
move on to basic operation using the benchctl tool.
What is a benchctl?
benchctl is a command-line tool used to control the BenchRack. It
communicates with the RTE to manage power (on/off/reset), flash the
host or BMC firmware, and access the host's serial console - giving
you full control of the platform from a single tool.
Environment Variables Used
BENCHCTL_HOST- the RTE's IP addressBENCHCTL_TASMOTA_IP- the smart outlet's IP addressBENCHCTL_BMC_IP- the BMC's IP address on the BenchRack
Note
To avoid entering the same arguments every time, you can set them as environment variables, for example:
export BENCHCTL_HOST=192.168 ....
benchctl looks for arguments first. If none are found, it falls
back to environment variables, and finally to default values -
which are only defined for some of them.
We recommend using this method - in later steps, we assume
that the variables have been exported, so they do not need
to be explicitly specified when invoking benchctl.
Power Control - Smart Outlet
Controlling the state of the NOUS A1T smart outlet is performed with
benchctl.
-
Turn on the power supply:
benchctl power ac on -
Turn off the power supply:
benchctl power ac off -
AC power-cycle: mains off, brief wait, mains on
benchctl power ac cycle -
Read the power supply state:
benchctl power ac status
Note
If you did not provide the smart outlet's address as a parameter,
nor exported it as an environment variable, benchctl will use
a default IP address - make sure this does not cause connection
issues.
Power Control - Motherboard
The commands above worked with the smart outlet. The following commands will interact directly with the motherboard, by controlling the front panel.
-
Turn on the platform:
benchctl power on -
Turn off the platform:
benchctl power off -
Reset the platform:
benchctl power reset -
Hard-reset the platform
benchctl power reset --hard -
Read the power status:
benchctl power status
Warning
While powering on the motherboard, benchctl does not check the
smart outlet's state - if the motherboard does not power on,
make sure the outlet is turned on.
Note
BenchRack does not support powering on via the front panel button, nor audio input or output.
Interacting With a Serial Console
Benchctl provides access to the BenchRack's serial consoles,
depending on what each platform exposes and how it is wired. Three
sources are available via the --source flag:
com1(the motherboard's primary serial port, exported by the RTE),uart1(a secondary, read-only debug UART present on some boards).
This section describes how to connect to each one, and when to use which.
-
Connect to COM1 serial:
benchctl console --source com1This attaches to the motherboard's COM1 port, which the RTE exports over telnet with ser2net.
Detach with
CTRL + ]at the start of a line, then typequitorq. -
Connect to second debug UART:
benchctl console --source uart1Warning
This serial port is read-only - you cannot write to it. To detach from it press
CTRL+C.
Flashing Firmware
benchctl supports remote flashing of both the host firmware on the
motherboard and the BMC firmware.
-
Detect and print the flash chip
benchctl flash probe <host|bmc> -
Read the flash and save into a
<file>benchctl flash read <host|bmc> <file> -
Write firmware from a
<file>to the flashbenchctl flash write <host|bmc> <fw> [--force]
Flashing the BMC
A BMC flash removes mains first, through the same Tasmota plug as
power ac off, then waits five seconds for the board to discharge
before it energizes the bus. The BMC runs on standby power, so it
keeps driving its flash for as long as mains is applied.
Mains stays off when the flash finishes, so bring the BenchRack
back with power ac on.
Accessing RTE via SSH
-
You can access the RTE directly - via SSH.
root@$BENCHCTL_HOSTPassword:
meta-rte